I recently needed to wipe an old hard drive. I knew that one recommended way to do this was to use something like DBAN.
However, what I didn’t know was that many-pass intensive disk over writes wasn’t the only way to wipe data. Since 2001, there has actually been an ATA standard known as “Secure Erase”. This operation is within the firmware of the hard drive and will perform an exhaustive overwrite, without burdening the computer. It hits sectors of the disk that an overwrite might traditionally miss. Additionally, it proceeds very quickly.
NIST research has found this to be effective.
You will come across mentions of Secure Erase a lot in relation to SSD’s. I believe this focus has come from the fact that disk overwriting is widely accepted, and people are looking for alternatives that apply to modern SSD’s. However, that’s just a personal conjecture.
I’ve heard conflicting evidence whether Secure Erase works for USB drives. If you know/find out, please let me know.
Below is the process I followed. It was guided largely based on this guide.
Disclaimer
This article helps you clear all of the data off of a disk, I take no responsibility for anything you do with this information. Please, be very careful when you are attempting to wipe hard drives. Make sure all information is backed up. Additionally, I make NO GUARANTEE about the permanence/effectiveness of this method.
Process
- Get PartedMagic
- Use Unetbootin to make a bootable USB drive
- Boot into that usb drive.
- Determine which drive is the one you want to wipe. The tools on the desktop should show you pretty obviously what drive /dev/sdX, most likely it will be /dev/sda
- Pull up a terminal
-

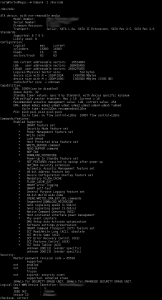
- This will show the information pertaining to this drive
- If the drive shows that it is frozen (no “not” to frozen) you will need to unfreeze it. The most effective way to do this appears to be to put the computer to sleep. To do this:
-
sudo echo -n mem > /sys/power/state |
sudo echo -n mem > /sys/power/state
- This will put the computer to sleep. Once it’s asleep, you should be able to wake the computer up (touch some keys, move the mouse…)
- Run the informational hdparm command again:
-
- Ideally it will now show “not frozen”. If the drive still shows frozen, ensure that you don’t have any sort of bios password locking on the drive, and then the next best option is probably to move the drive into a different computer.

- Now set a password so we can continue (odd, I know)
-
hdparm --user-master u --security-set-pass pass /dev/sdX |
hdparm --user-master u --security-set-pass pass /dev/sdX
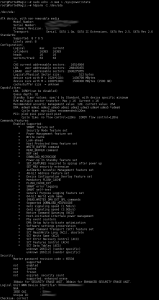
- We can again run the informational hdparm command.
-

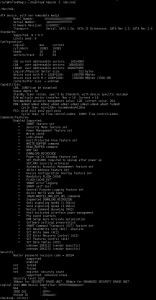
- Now we should see “enabled” in the security section. Bingo. We also see the estimated time to wipe the drive. In this case it said 384 minutes.
- Let’s wipe this drive. We can time the command if we’d like information about how long it actually takes:
-
time hdparm --user-master u --security-erase pass /dev/sdX |
time hdparm --user-master u --security-erase pass /dev/sdX
- Relax. Go do something else for awhile.
- We can see that my drive ended up taking 299 minutes.
Additional Reading


